AcousticMat 1200 × 600 mm (0.72 m²) — 9 mm Double Layer & 12 mm Triple Layer
A dedicated acoustic underlay for quieter floors with minimal height gain. AcousticMat is supplied as easy-to-handle sheets and is designed to cut impact noise (footfall) while keeping build-ups slim. Choose 9 mm where headroom is tight, or 12 mm for tougher sound control.
Impact noise reduction Slim build-up (9–12 mm) DIY & trade friendly Timber & concrete subfloors
Why buyers choose AcousticMat
- Real-world quiet: Softens heel-strike and reduces transfer to rooms below.
- Low-profile system: 9–12 mm helps avoid trimming doors and re-setting thresholds.
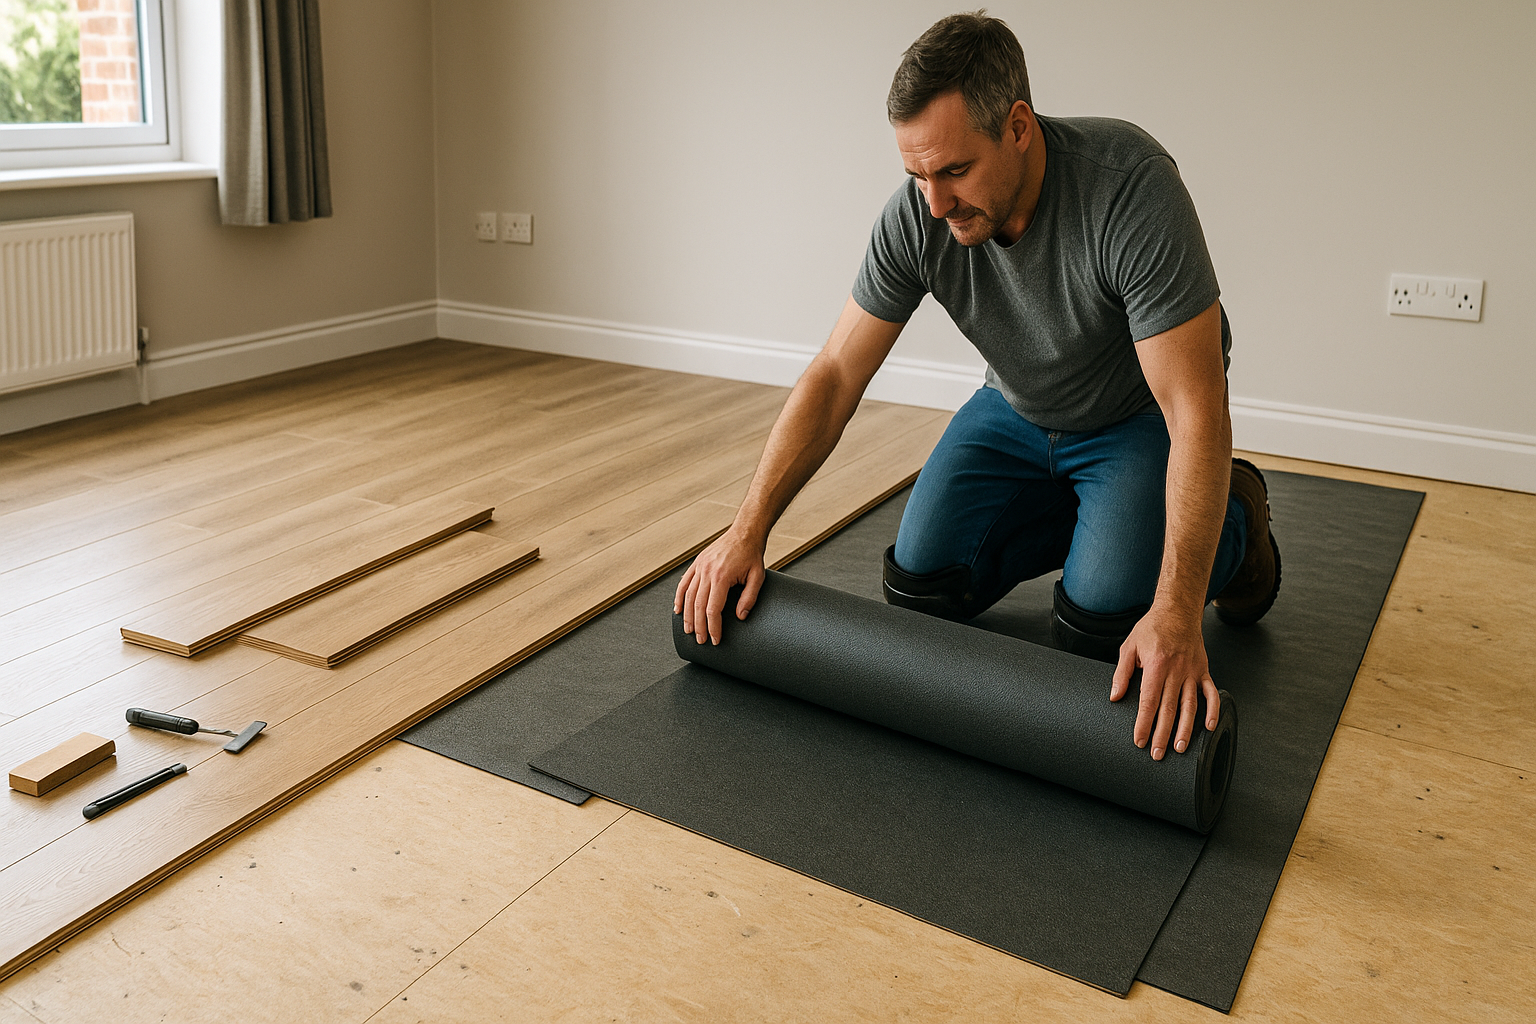
- Fast progress on site: 1200 × 600 mm sheets cut cleanly with a knife and stagger quickly.
- Finish-agnostic: Works beneath carpet, LVT/vinyl, engineered wood; tiling via a decoupling/backer board.
- Flanking control: Designed to pair with perimeter isolation strips and acoustic sealant to stop sound “short-circuiting”.
Key specifications
| Attribute | 9 mm Double Layer | 12 mm Triple Layer |
|---|---|---|
| Sheet size / coverage | 1200 mm × 600 mm — 0.72 m² per sheet | |
| Total thickness | 9 mm | 12 mm |
| Main purpose | Resilient acoustic underlay to reduce impact sound; complements airborne control within a full system | |
| Typical substrates | Timber decks (ply/chipboard) and cured concrete/screed (flat, dry, sound) | |
| Finish compatibility | Carpet (with dense underlay), LVT/vinyl, engineered wood; tiles via decoupling/backer board above the mat | |
Which thickness is right for me?
| Scenario | 9 mm | 12 mm |
|---|---|---|
| Very tight door clearances / minimal height gain | ✅ Best fit | ◻︎ Check clearances |
| Bedrooms / studies (light–moderate use) | ✅ Suitable | ✅ Extra comfort |
| Hallways / open-plan areas (heavier traffic) | ◻︎ Good | ✅ Better |
| Stricter acoustic targets / neighbour complaints | ◻︎ Consider hybrid build-up | ✅ Preferred |
| Budget sensitivity | ✅ Lower material cost | ◻︎ Higher material cost |
Coverage calculator
Sheets required = Room area (m²) ÷ 0.72 → round up and add 5–10% for cuts.
| Room area | Sheets (no wastage) | Order this many (5–10% extra) |
|---|---|---|
| 10 m² | 14 | 15–16 |
| 12 m² | 17 | 18–19 |
| 15 m² | 21 | 22–23 |
| 20 m² | 28 | 29–31 |
Finish compatibility (what goes above the mat?)
| Floor finish | Layer above AcousticMat | Notes |
|---|---|---|
| Carpet | Dense carpet underlay | Use gripper rods fixed through to subfloor without creating rigid bridges at the perimeter strip. |
| LVT / Vinyl | Follow brand-approved primer/leveller if specified | Check adhesive compatibility for resilient layers over acoustic mats. |
| Engineered wood | Manufacturer-approved underlay/adhesive system | Float or bond per flooring guidance; avoid hard contact to walls. |
| Tiles | Decoupling/backer board fixed on top | Then tile to the board per the tile system specification. |
Tools & materials you’ll need
- Sharp knife & straightedge; tape measure; pencil/chalk line
- Acoustic sealant for perimeters and penetrations
- Compatible adhesive (if using a bonded method) or roller/weights for bedding
- Decoupling/backer board (if tiling)
Subfloor preparation
Timber decks (ply/chipboard)
- Secure loose boards and eliminate squeaks (additional screws as required).
- Feather minor low spots; the surface must be flat, clean and dry.
- Remove thresholds and trims; check door clearances.
Concrete / screed slabs
- Ensure slab is fully cured and within moisture limits for the chosen finish.
- Grind ridges and fill hollows; vacuum clean.
- If required, apply a DPM/primer compatible with the chosen adhesive/finish.
Installation guide (detailed)
- Isolate the perimeter: Run the acoustic perimeter strip around all walls and fixed upstands. This prevents the new floor from touching rigid structure.
- Plan the layout: Set out a brick-bond pattern so short joints are staggered. Dry-lay the first few rows to confirm cuts around door linings, stairs and services.
- Cut to size: Score with a sharp knife along a straightedge. Trial-fit pieces to keep factory edges tight where possible.
-
Place & fix:
- Bonded method: Apply compatible adhesive in accordance with the data sheet; place sheets, then roll/weight to bed uniformly.
- Floating method: Where permitted, lay sheets tight-jointed over the prepared deck. Follow the finish manufacturer’s guidance for floating systems.
- Detail penetrations: Sleeve around pipes/posts; fill the annulus with acoustic sealant to preserve movement and airtightness.
- Maintain isolation: Do not bridge the perimeter strip with the mat, underlay, fixings or trims. Use appropriate transition profiles at thresholds.
- Finish layer: Install carpet, LVT/vinyl, engineered wood, or backer board for tiles as specified. Keep a small expansion gap to walls and seal if required by the system.
Common pitfalls to avoid: leaving gaps unsealed, compressing the perimeter strip, hard-fixing skirtings through the acoustic line and tiling directly to the mat.
Where AcousticMat excels
- Flats and terraces where height is restricted but complaints about footfall are common.
- Bedrooms and home offices over living spaces.
- Concrete slabs under hard finishes that sound “hollow”.
- Multi-room refurbishments where fast, consistent laying matters.
FAQs
Will AcousticMat work with underfloor heating?
Often yes, as a resilient layer above fully cured screed. Always check UFH and flooring manufacturer guidance for compatibility and expected thermal response.
Can I tile straight onto AcousticMat?
No. Fit a suitable decoupling/backer board on top, then tile to that board per the tile system specification.
How much noise reduction should I expect?
Performance depends on the full build-up and how well you control flanking. The 12 mm option typically provides a greater reduction than 9 mm thanks to added mass/decoupling.