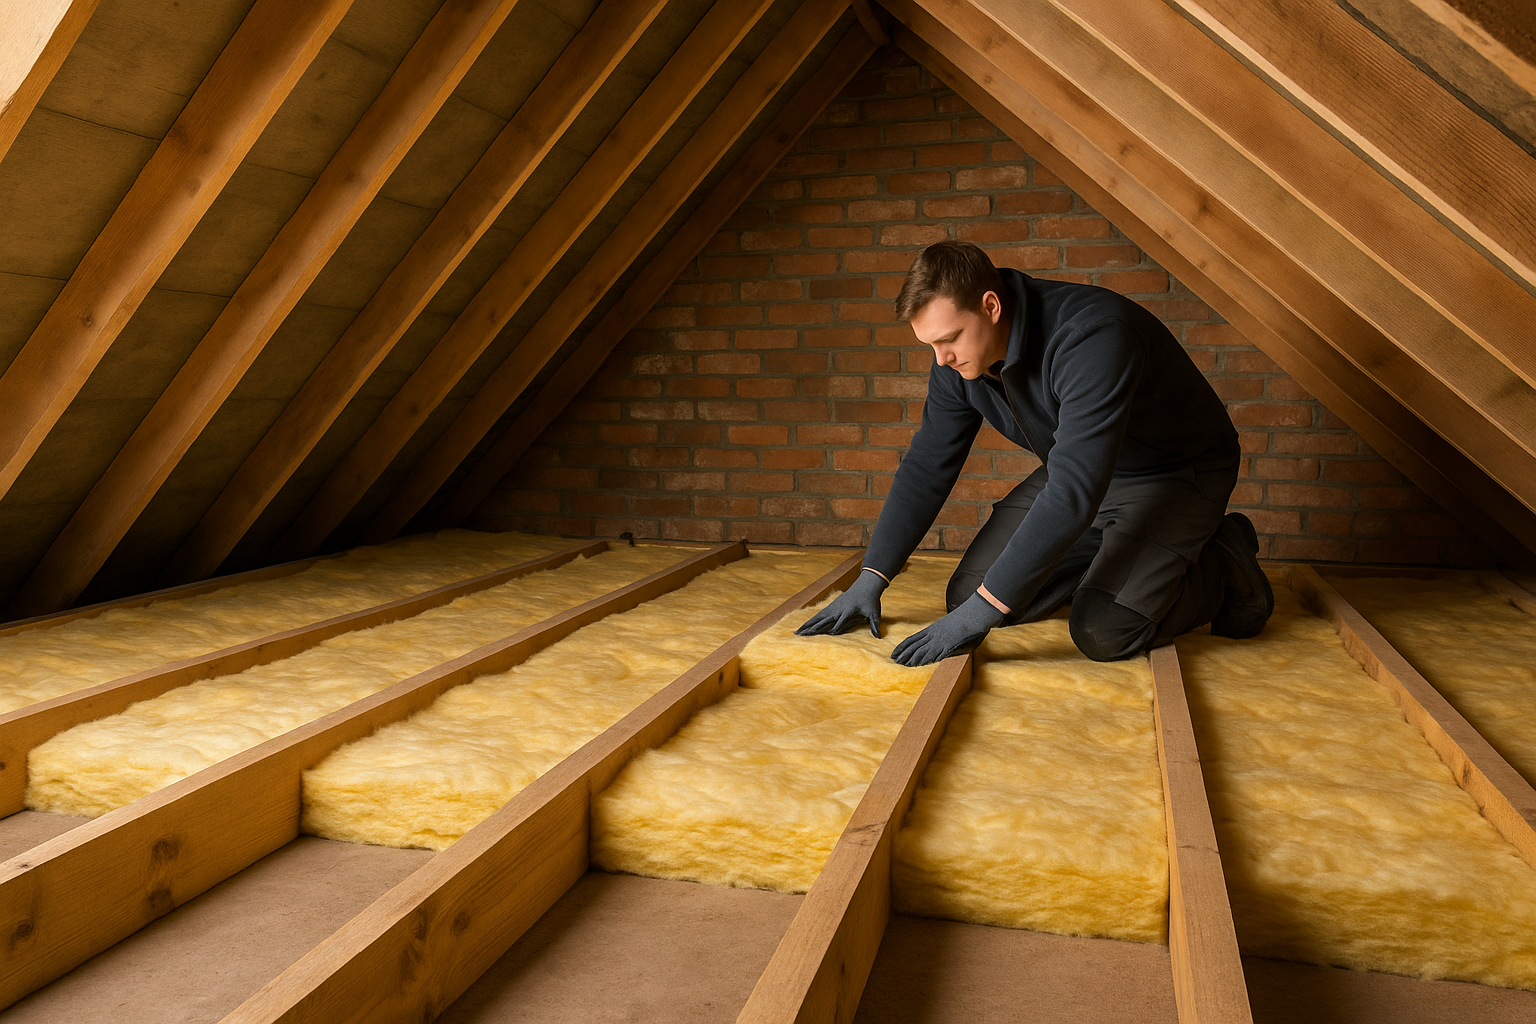
Why Loft Insulation it matters
In many UK homes a significant share of heat is lost through the roof. Adding effective loft insulation is one of the quickest, lowest-cost ways to cut energy use, steady indoor temperatures, and make the whole house more comfortable through winter and summer. This beginner’s guide covers the essentials so you can plan with confidence.
Key benefits at a glance
- Lower bills: Well-installed loft insulation can save hundreds of pounds over time.
- Comfort all year: Fewer draughts and more stable room temperatures.
- Reduced carbon impact: Using less energy means fewer emissions.
- Buyer appeal: Better energy performance is increasingly important to homebuyers.
First, decide the approach
- Cold loft: Insulate between and over joists to keep heat in the rooms below.
- Warm roof: Insulate between/under rafters if you use the loft as a room or need clear joists for storage.
Choosing loft insulation materials
Pick based on access, depth available, and whether you are insulating joists or rafters.
Mineral wool rolls (glass or stone)
- Best for: Standard, easy-access lofts with joists.
- Pros: Cost-effective, good thermal and sound performance, easy to top up.
- Watch-outs: Do not compress and keep eaves ventilation clear.
PIR rigid boards
- Best for: Between rafters or where depth is limited.
- Pros: High thermal performance per mm, neat finish.
- Watch-outs: Accurate cutting needed around timbers and services.
Multifoil insulation
- Best for: Warm roof build-ups and tight spaces.
- Pros: Thin build-up, reflects radiant heat, useful as part of a layered system.
- Watch-outs: Follow guidance on air gaps and fixing.
Blown-in insulation
- Best for: Hard-to-reach areas and irregular lofts.
- Pros: Fills gaps well.
- Watch-outs: Typically installed by a professional and may need containment at eaves.
Tools and supplies
- Insulation (rolls, boards, or multifoil)
- Tape measure and straight edge
- PPE: gloves, mask, goggles, long sleeves
- Utility knife or insulation saw
- Staple gun and battens (for multifoil or rafter work)
- Loft boards or crawl boards for safe access
How to insulate a cold loft (step-by-step)
- Measure up: Calculate floor area so you know how much material to buy, allowing for a top-up layer.
- Check what is there: If existing insulation is dry and sound you can usually add to it.
- Prep the space: Lay safe access boards, move stored items, and identify electrical cables and downlights.
- First layer between joists: Start at the eaves and work towards the hatch. Lay mineral wool so it fits snugly without being forced.
- Top-up layer across joists: Lay a second layer at right angles over the first to cover joists and reduce thermal bridging.
- Hatch and draught-proofing: Insulate the back of the loft hatch and fit draught-proof strips around the frame.
- Ventilation: Keep soffit/eaves vents clear and avoid blocking airflow to prevent condensation.
- Services and electrics: Do not bury downlights or junction boxes. Keep insulation away from hot fittings or use approved covers.
Safety tips
- Wear PPE and place boards for a stable working path.
- Never step on plasterboard ceilings; only stand on joists or boards.
- Keep insulation clear of wiring and heat sources.
- Ensure adequate lighting and have someone aware you are in the loft.
Common mistakes to avoid
- Compressing insulation between joists which reduces performance.
- Blocking eaves ventilation leading to condensation and damp.
- Covering downlights or electrics which can create a fire risk.
- Using the wrong product for rafters vs joists or for limited-depth areas.
Where to get everything you need
At Buy Insulation you will find options for every loft and budget:
- Mineral wool loft rolls — ideal for between and over joists
- PIR insulation boards — high performance where depth is tight
- Multifoil insulation — slim build-ups for warm roof projects
Quick FAQ
Will PIR help if my joists are shallow?
Yes. PIR’s higher thermal performance per mm is useful where depth is limited, especially at rafters or in hybrid build-ups.
Can I store items after insulating?
Only on raised platforms or boarded areas that sit above the top layer so you do not squash the insulation.
Do I need a professional?
Many cold-loft top-ups are DIY-friendly. Choose a professional for blown-in systems, complex warm roofs, or if you are unsure about ventilation and moisture control.


